
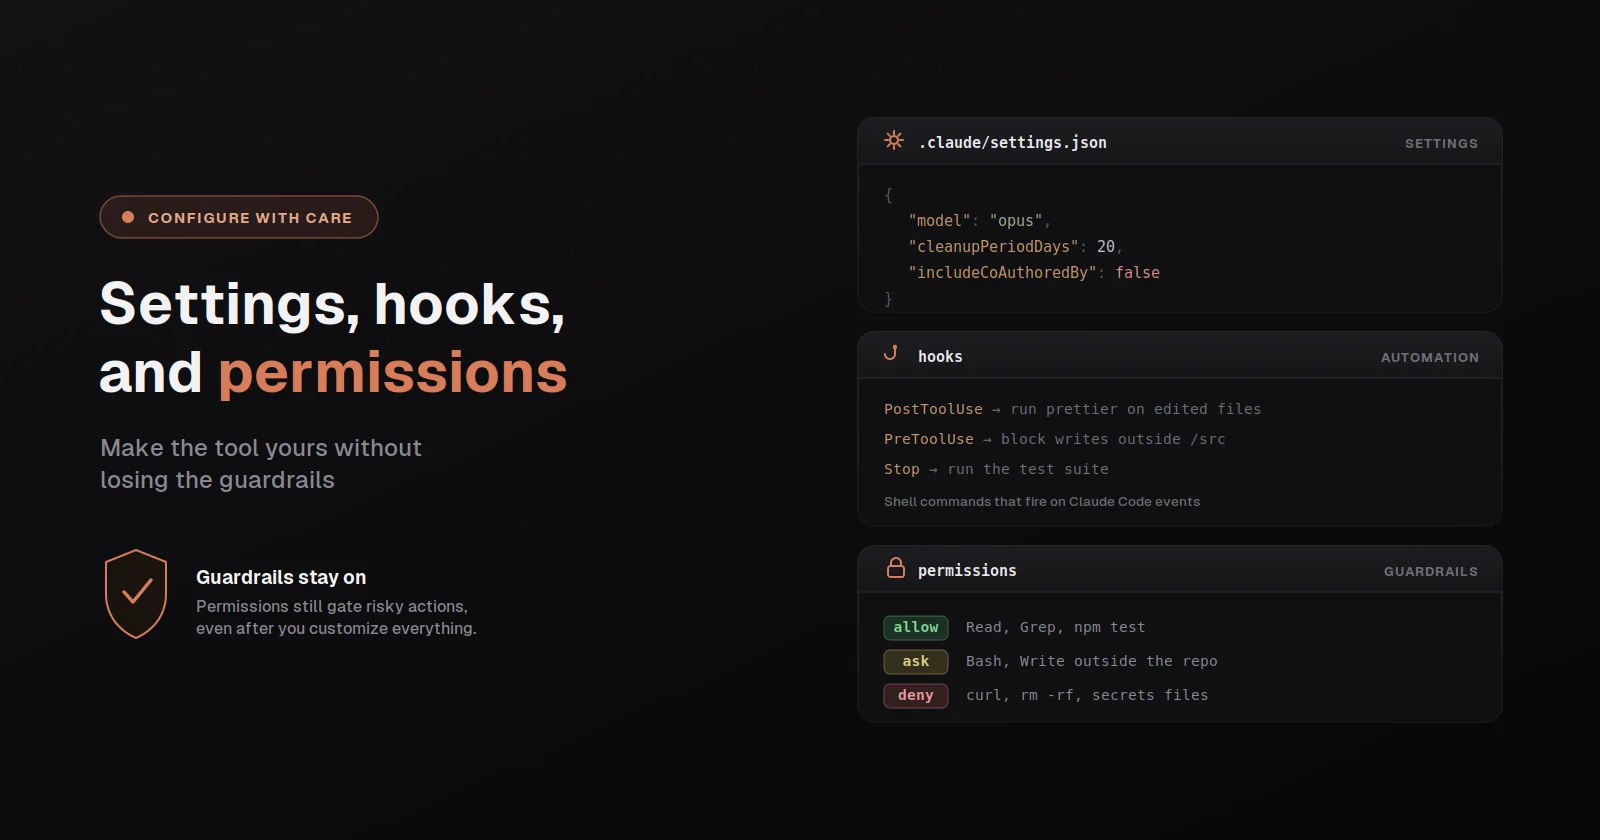
The configuration surface of Claude Code is bigger than most users realize and the part of it that matters most isn't the part that gets the most attention. Settings files get described in introductions as the place to set your theme and pick your model, which are real things but also the least interesting things you can do with them. The actual leverage in the settings layer is permission rules that pre-approve the commands you trust and block the ones you don't, and hooks that run shell scripts at fixed lifecycle events and enforce things CLAUDE.md can only suggest. This guide is the working version of how to use that surface without overcomplicating it.
The framing worth holding is that CLAUDE.md shapes what the tool tries to do, permission rules shape what the tool is allowed to do, and hooks shape what happens automatically regardless of what the tool decides. They're three different layers with different reliability properties. Instructions in CLAUDE.md are advisory and Claude chooses whether to follow them. Permission rules are enforced by Claude Code itself and Claude can't bypass them. Hooks run as shell commands at fixed lifecycle events and execute deterministically. Knowing which layer to reach for is most of the skill of configuring the tool well, where the most common mistake is using CLAUDE.md for things that need to actually happen rather than things you want to encourage.
The settings file layers, and which one to write to
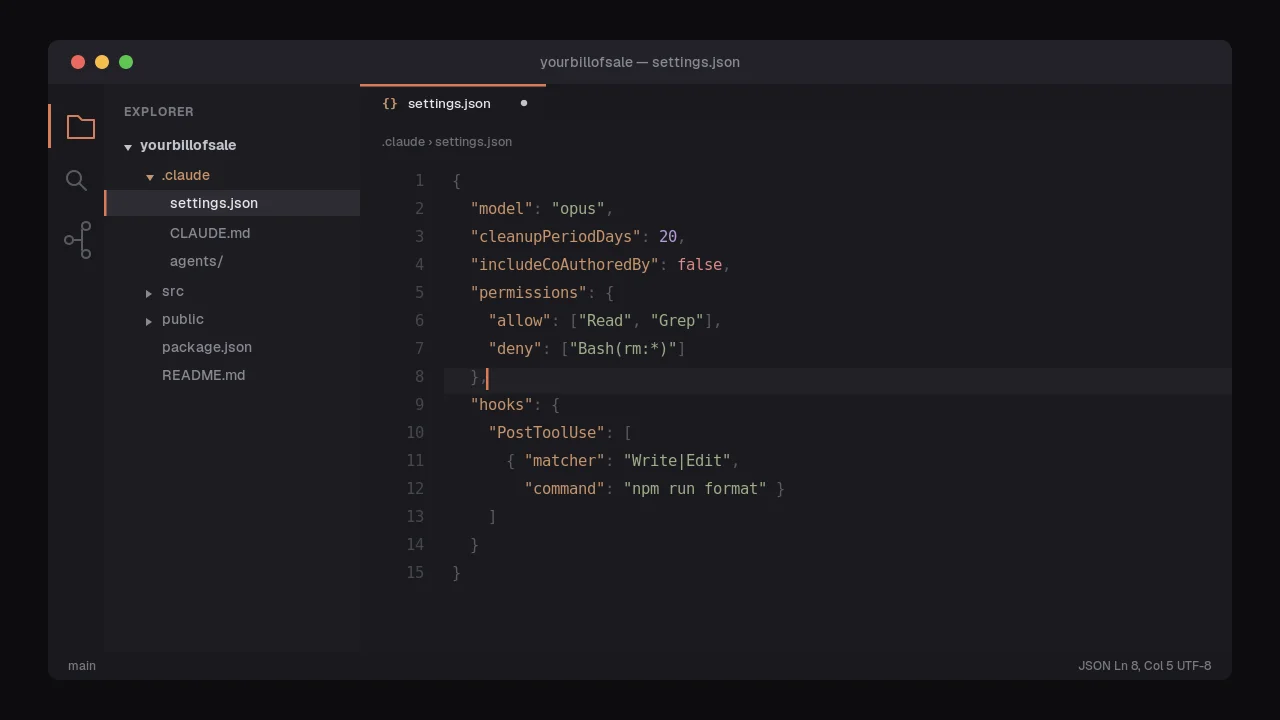
Settings files live at four layers with a clear precedence order: managed settings deployed by IT (highest priority, can't be overridden by anything else), command-line arguments for the current invocation, local project settings at .claude/settings.local.json (gitignored, your personal layer for this project), shared project settings at .claude/settings.json (committed to the repo, applies to the whole team), and user settings at ~/.claude/settings.json (applies to every project you work on). When the same setting is defined at multiple layers, the higher-priority layer wins, with the special rule that deny permission rules from any layer beat allow rules from any other layer.
The practical rule for which layer to write to is simpler than the precedence order implies: settings that should apply to the whole team go in .claude/settings.json and get committed; personal preferences that apply across all your projects go in ~/.claude/settings.json; one-off project tweaks for just you go in .claude/settings.local.json. The mistake worth avoiding is putting things in .claude/settings.json that should be personal (your specific shell allowlists, your private API endpoints), because everything in that file ships to whoever clones the repo.
The settings file is JSON with a schema you can pull in for autocomplete: "$schema": "https://json.schemastore.org/claude-code-settings.json" at the top of the file makes most editors light up with completions and inline docs. The keys are well-documented at code.claude.com/docs/en/settings and the ones worth knowing on day one are permissions (the allow/ask/deny system), env (environment variables the tool reads), hooks (the lifecycle scripts), model (default model selection), defaultMode (default permission mode), and autoMemoryEnabled.
Permission rules: allow, ask, deny, in that order
The permission system is the highest-value part of the settings file for most users, where pre-approving the commands you actually use (lint, test, format, your specific git workflows) turns the constant stream of approval prompts into a clean session where the tool only stops you for things you genuinely should review. The shape is three arrays: allow rules that let the tool use a matching action without asking, ask rules that prompt for approval, and deny rules that block the action entirely. Rules are evaluated in the order deny → ask → allow, so a matching deny always wins, then ask, then allow.
The rule syntax is Tool to match all uses of a tool (Bash matches every shell command), or Tool(specifier) to match a pattern. The specifier syntax depends on the tool. For Bash rules, you write a glob: Bash(npm run *) matches every npm run command, Bash(git commit *) matches every git commit command, Bash(rm -rf *) in a deny rule blocks every rm -rf. For Read and Edit rules, you write a gitignore-style path: Read(./.env*) in a deny rule blocks reading any .env file, Edit(/src/**/*.ts) matches edits to any TypeScript file under src/. For WebFetch, you scope by domain: WebFetch(domain:github.com).
A clean starting allowlist for a Node.js project might look like:
{ "permissions": { "allow": ["Bash(npm run lint)", "Bash(npm run test *)", "Bash(npm run build)", "Bash(git status)", "Bash(git diff *)", "Bash(git log *)"], "deny": ["Read(./.env)", "Read(./.env.*)", "Read(./secrets/**)", "Bash(curl *)", "Bash(rm -rf *)"], "defaultMode": "acceptEdits" } }
That allowlist lets the tool run your tests and lint without asking, pre-approves the read-only git commands so the tool can see what's changed, blocks reading any .env or secrets/ file outright, blocks curl (so the tool can't reach the network through the Bash tool, with the WebFetch tool as the supervised path for HTTP requests), and starts the session in acceptEdits mode where file edits don't prompt but everything else does.
The thing worth knowing about Bash rules that bites people is that the wildcard pattern has subtle word-boundary behavior: Bash(ls *) with a space before the wildcard matches ls -la but not lsof, while Bash(ls*) without the space matches both. The space-separated form is what the tool writes when you select "Yes, don't ask again" in a permission dialog, and it's almost always what you want. There's also a built-in set of read-only Bash commands (ls, cat, echo, pwd, head, tail, grep, find, wc, which, diff, stat, du, cd, and read-only forms of git) that the tool will run without prompting in every mode, which is why you don't need to add allowlist rules for them.
Compound commands matter too: when you approve git status && npm test with "don't ask again", the tool saves a separate rule for npm test rather than the full compound string, because the rule for each subcommand is what's actually useful. The recognized command separators (&&, ||, ;, |, etc.) all split a compound into subcommands that each get matched independently, which means a rule like Bash(safe-cmd *) won't give the tool permission to run safe-cmd && other-cmd; the other-cmd half needs its own matching rule. The full reference at code.claude.com/docs/en/permissions is worth reading once when you're setting up a real allowlist.
Hooks: when CLAUDE.md isn't enough
The defining property of hooks is that they execute as shell commands at fixed lifecycle events regardless of what the tool decides to do, where CLAUDE.md instructions are advisory and might be ignored but a hook always runs. The right time to reach for a hook is for actions that must happen with zero exceptions: auto-formatting after every file edit, blocking writes to specific paths, running lint before a commit, recording an audit log of every tool call. The wrong time to use a hook is for things that should usually happen but don't need a hard guarantee, where CLAUDE.md is the lower-cost mechanism.
Hooks live in settings.json under a hooks key with three nesting levels: the event (PreToolUse, PostToolUse, Stop, etc.), a matcher group that filters by tool name, and a hook handler that names the command, HTTP endpoint, or MCP tool to invoke. The lifecycle events you'll care about on day one are SessionStart (once per session, useful for loading context like recent git history), UserPromptSubmit (once per turn, useful for validating or augmenting prompts), PreToolUse (every tool call, useful for blocking dangerous actions before they execute), PostToolUse (every successful tool call, useful for running lint after edits), and Stop (when the tool finishes responding, useful for desktop notifications).
A canonical example is running eslint after every file edit, which looks like:
{ "hooks": { "PostToolUse": [{ "matcher": "Edit|Write", "hooks": [{ "type": "command", "command": "npx eslint --fix \"${tool_input.file_path}\"", "timeout": 30 }] }] } }
That hook runs eslint --fix against any file the tool edits or writes, with a 30-second timeout. The ${tool_input.file_path} placeholder gets substituted with the actual path the tool touched. Another canonical example is loading session context at start:
{ "hooks": { "SessionStart": [{ "matcher": "startup", "hooks": [{ "type": "command", "command": "echo \"Branch: $(git branch --show-current); Open PRs: $(gh pr list | wc -l)\"" }] }] } }
That hook fires once per session and pipes its stdout into Claude's context, so the tool starts every session knowing the current branch and how many PRs are open without you having to mention it.
The hook handler types are command (shell script), http (POSTs to a URL), mcp_tool (invokes a tool from a connected MCP server), prompt (sends a prompt to a model and uses its decision), and agent (runs a subagent to validate the action). Most hooks you'll write are command hooks. The handler receives JSON on stdin with fields like tool_name, tool_input, cwd, and session_id, and can return JSON on stdout to control what happens next (block the action, force a permission prompt, inject additional context into the conversation). Exit code 2 from a hook is the blocking signal: the tool call is denied and stderr is shown to Claude, which is the right pattern for hooks that enforce hard rules.
You can ask Claude to write hooks for you, which is genuinely the easiest way to get a non-trivial hook working: "write a hook that blocks writes to the migrations folder" or "write a hook that runs prettier after every file edit" both produce working configurations that you can paste into settings.json with minor adjustments. Run /hooks in a session to see every hook currently configured.
Permission modes shape the baseline; rules layer on top
The permission system has two interacting parts that are easy to confuse: rules in your settings.json (allow, ask, deny) and the current permission mode (default, acceptEdits, plan, auto, dontAsk, bypassPermissions). The mode is the baseline behavior, the rules are pre-approvals or blocks layered on top, and in modes other than bypassPermissions they always apply together. Cycle modes with shift+tab in a session, or set a default in your settings with defaultMode: "acceptEdits" or similar.
The modes worth understanding by name are default, which prompts for every file edit and shell command and is the right baseline for sensitive work; acceptEdits, which auto-approves file edits and the common filesystem Bash commands (mkdir, touch, mv, cp) but still prompts for everything else, which is the right baseline for iterating on code you're actively reviewing; plan, which lets the tool read but not edit, which is what you cycle into for explore-then-plan workflows; auto, which sends every action through a classifier model and is the right baseline for long unattended runs; dontAsk, which auto-denies anything not explicitly pre-approved and is the right baseline for CI pipelines where you've already locked down what's allowed; and bypassPermissions, which skips all prompts and is the right baseline only inside isolated environments like dev containers.
The interaction between modes and rules is that in every mode except bypassPermissions, your deny rules still block actions, your ask rules still prompt, and your allow rules still pre-approve. The mode controls what happens for actions that match none of your explicit rules: in default mode unmatched actions prompt, in acceptEdits unmatched file edits are auto-approved, in dontAsk unmatched actions are denied. Picking a mode is choosing what unmatched actions default to; writing rules is overriding that default for specific actions.
One thing worth knowing that catches people: writes to a small set of protected paths (.git, .vscode, .idea, .husky, most of .claude except a few subdirs, .gitconfig, .bashrc, .mcp.json, .claude.json) are never auto-approved in any mode except bypassPermissions. This is a guardrail against accidental corruption of repo state and the tool's own configuration, and you can't override it with allow rules in normal modes. Removals targeting the filesystem root or home directory (rm -rf /, rm -rf ~) also always prompt, even in bypassPermissions, as a last-resort circuit breaker.
The bigger picture
The reason the settings layer is worth investing in once rather than ignoring is the same reason CLAUDE.md is worth investing in: configuration that fits your actual workflow compounds across every future session, where the cost of writing a real allowlist or hook is paid once and the benefit accrues forever. The mistake worth avoiding is the temptation to configure everything before you've used the tool enough to know what you actually want configured, where new users sometimes copy elaborate allowlists from blog posts and end up with rules that don't match their actual usage patterns. The cleaner sequence is to use the tool with default settings for a week, notice what's prompting you that shouldn't, notice what's running without prompting that shouldn't be, and write rules that address exactly those.
The other piece of the bigger picture is that hooks are the right place for things you want enforced rather than encouraged, and the test for whether something belongs in a hook rather than in CLAUDE.md is whether the answer to "what if the tool doesn't do it?" is "that's a real problem." Auto-formatting after edits, blocking writes to migrations folders, running lint before commits, recording audit logs of dangerous actions: these all have the property that they need to happen reliably rather than usually, and hooks are how you get reliability where CLAUDE.md only gives you encouragement. For everything else, CLAUDE.md is lower-cost and easier to maintain, and the discipline is to use the heaviest mechanism only when you actually need it.