
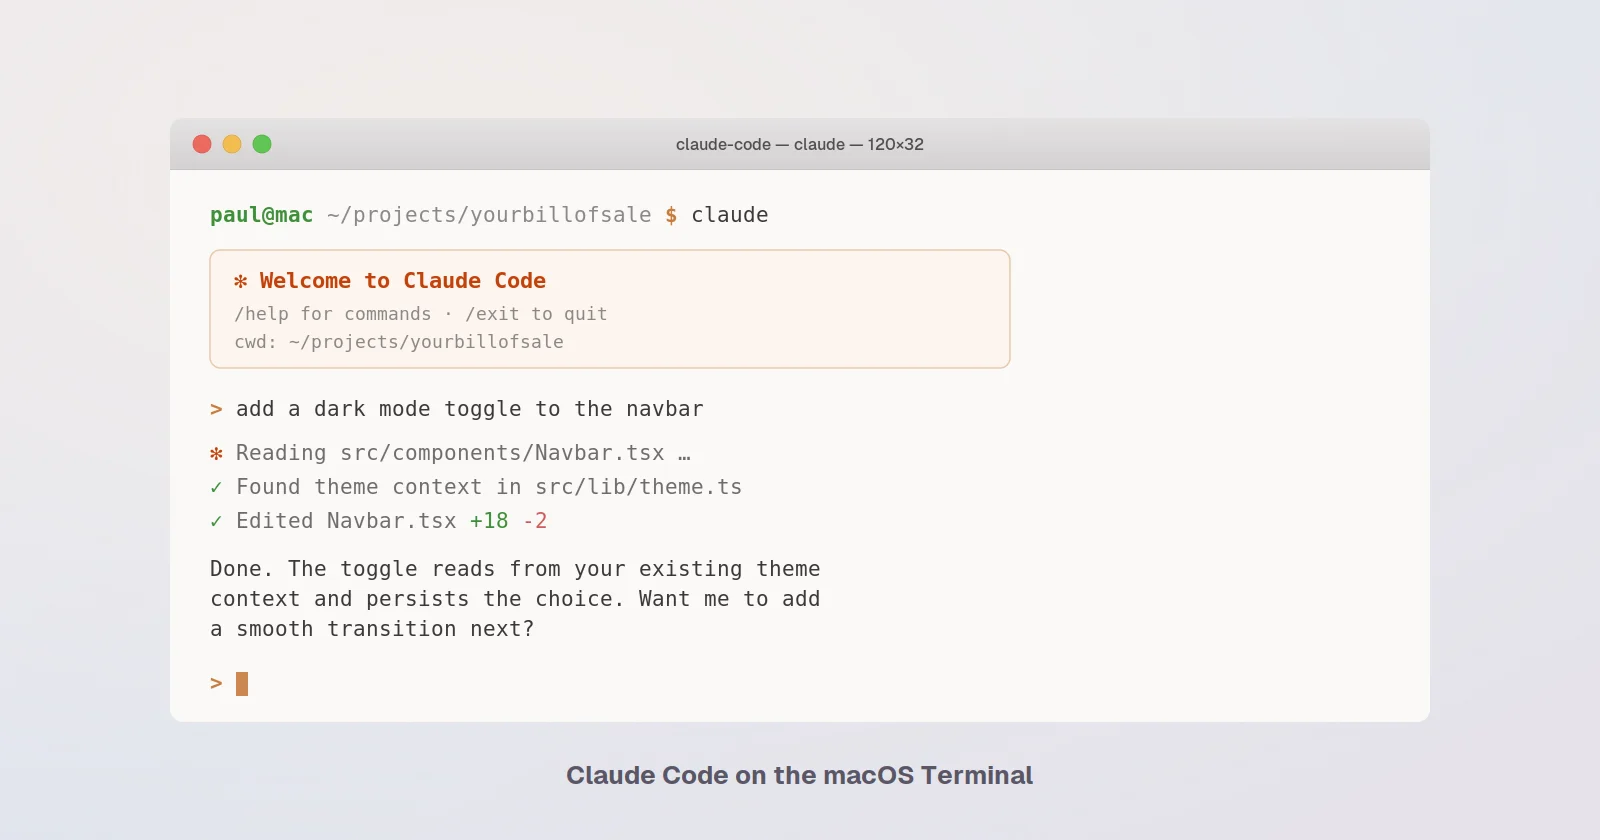
Claude Code works in any macOS terminal without configuration, where you can install the binary, run claude in a project directory, and have a working session in under a minute. That ease is real and worth respecting, but it's also the reason most macOS users never get around to the five or six small terminal settings that change the experience meaningfully, where the defaults are good enough to feel done and the upgrades are quiet enough that you don't realize you're missing them. This guide is the list of macOS-specific moves worth making in your first hour of using the tool, ranked by how much they actually matter rather than by how prominently they show up in the install docs.
The thing to understand up front is that the terminal you're using isn't a neutral substrate for Claude Code, it's part of the tool itself, where features like multi-line input, desktop notifications, image paste, and Option-key shortcuts all depend on signals the terminal either passes through cleanly or quietly drops. The terminal you pick and the few settings you turn on inside it determine which of those features actually work, and the reason this matters more than it sounds is that you'll be using whatever terminal you settled on for the next thousand sessions, so the friction of every misconfigured shortcut compounds across all of them. The full reference is at code.claude.com/docs/en/terminal-config and is worth bookmarking, but the practical version is shorter than that page suggests.
Pick a terminal you'll actually live with
The honest ranking of macOS terminals for Claude Code looks different from the ranking you'd see if you were just picking a terminal for general use, because the things that distinguish a great terminal for the tool aren't the things people usually evaluate terminals on. The shortlist worth considering is Apple Terminal, iTerm2, Ghostty, Kitty, WezTerm, and Warp, all of which support Shift+Enter for newlines without any setup and handle the rest of the tool's needs cleanly enough that you won't fight your terminal during day-to-day use.
Within that shortlist, the three honest categories are: Ghostty and Kitty, where desktop notifications and the progress bar work out of the box without configuration, which is genuinely the smoothest path if you don't have a strong existing preference; iTerm2, which is the most popular choice and works very well once you've enabled the few settings that aren't on by default; and Apple Terminal, which is the default and is genuinely fine for the tool, where the only things missing are some quality-of-life features that the more modern terminals have. You don't need to migrate to a new terminal to use Claude Code well, and if you're happy in Apple Terminal you should stay there. But if you've been thinking about switching anyway, the tool gives you a small reason to favor Ghostty or Kitty over the others.
The terminals on the shortlist where the tool is meaningfully worse are the ones where Shift+Enter doesn't pass through cleanly, where Alacritty and Zed's embedded terminal both need a one-time /terminal-setup run to make multi-line input work. The tool also runs inside VS Code's, Cursor's, and Windsurf's integrated terminals with the same caveat, where you can use it there if you want the agent next to your code but you'll want to run /terminal-setup on first use. The full compatibility table is in the docs and is worth glancing at if you're using anything unusual.
The Option key problem is the single biggest gotcha
By far the most common confusion macOS users hit with Claude Code is that the Option-key shortcuts don't do anything by default, where you'll see references in the docs to Option+P for switching models, Option+Enter for a newline, Option+T for extended thinking, and Option+O for fast mode, and pressing those combinations in your terminal produces silence. The reason isn't that the shortcuts are broken, it's that macOS terminals don't pass the Option key through as a modifier by default, where the Option key is treated as a way to type special characters rather than as the Meta key that command-line tools have used for decades. Until you tell your terminal to send Option as Meta, the shortcuts have nothing to bind to.
The fix takes about thirty seconds and is different in each terminal, where in Apple Terminal you open Settings → Profiles → Keyboard and check "Use Option as Meta Key"; in iTerm2 you open Settings → Profiles → Keys → General and set Left Option key and Right Option key both to "Esc+"; in Ghostty and Kitty the setting is in the configuration file and is usually labeled something like "macos-option-as-alt"; and in VS Code's integrated terminal you add "terminal.integrated.macOptionIsMeta": true to your VS Code settings. None of these are hard, they're just not obvious, and the cost of not doing them is that a quarter of the tool's keyboard shortcuts feel broken until you figure it out.
There's a quiet bypass for this that's worth knowing about: Claude Code ships a /terminal-setup command that detects which terminal you're in and applies the right settings for you, where in Apple Terminal it enables Option as Meta and switches the audio bell to a visual flash, in iTerm2 it enables clipboard access so the /copy command works, and in VS Code, Cursor, Windsurf, Alacritty, and Zed it writes the Shift+Enter binding into the terminal's config file. The first-run prompt offers this automatically in some terminals, but if you skipped it or you're in one of the terminals where it didn't fire, running /terminal-setup manually is the cleanest way to get the right configuration without hunting through preference panels.
Wire up notifications, because the tool fires them whether you see them or not
When Claude Code finishes a long task or pauses to ask for a permission, it fires a notification event, and whether you see that notification depends entirely on whether your terminal is configured to surface it. The reason this matters more than it sounds is that the tool is designed for the pattern where you fire off a task that takes several minutes, switch to something else while it runs, and come back when the notification tells you it's done, and if notifications aren't working you either have to babysit the session or check back manually, both of which defeat the purpose of an agent that can work asynchronously.
The defaults are uneven across terminals: Ghostty and Kitty forward desktop notifications to the macOS Notification Center without any setup, which is the cleanest experience. iTerm2 requires you to enable two settings inside the same preference panel, where you go to Settings → Profiles → Terminal, check "Notification Center Alerts", then click "Filter Alerts" and enable "Send escape sequence-generated alerts". After that the notifications work the same as in Ghostty or Kitty, but until you've done both of those toggles iTerm2 will silently drop every notification the tool sends.
For terminals that don't speak the desktop-notification protocol (Apple Terminal, Warp, and the IDE-integrated terminals among them), the right move is either to set preferredNotifChannel to "terminal_bell" in your settings file so the tool rings the terminal bell when something happens, or to configure a Notification hook that plays a sound or runs a custom command. The hook approach is the one I'd recommend if you care about this at all, where you can drop a single line into your ~/.claude/settings.json and have macOS play a real system sound rather than just bonking the terminal bell:
{ "hooks": { "Notification": [{ "hooks": [{ "type": "command", "command": "afplay /System/Library/Sounds/Glass.aiff" }] }] } }
That single block turns every notification into the Glass sound from /System/Library/Sounds/, which is the same set of sounds the rest of macOS uses, and you can swap in any of the others if Glass isn't your taste. The point is that notification-aware terminals like Ghostty and Kitty get you this for free, and the rest can be brought up to parity in about a minute.
The other settings worth turning on
Beyond the Option key and notifications, there are four small settings that change the experience enough to be worth doing on your first day. The first is fullscreen rendering mode, which switches the tool from drawing into your terminal's scrollback to drawing on a separate screen, where the display stays stable when the tool is working hard, mouse support for scrolling and selection becomes available, and the scrollback you keep in your terminal isn't filled with thousands of lines of tool output. You can switch in the current session with /tui fullscreen, and you can make it the default by setting CLAUDE_CODE_NO_FLICKER=1 as an environment variable. This is one of those settings where you don't notice you needed it until you've used it for a day, and then turning it off feels broken.
The second is image paste, which is a feature most users don't know exists and is genuinely useful, where you can copy a screenshot to your clipboard and paste it directly into the Claude Code prompt with Ctrl+V in most terminals or Cmd+V specifically in iTerm2. The tool inserts an [Image #N] chip at the cursor that you can reference in the rest of your prompt ("look at [Image #1] and tell me why the layout breaks"), which is the cleanest way to get a UI bug or a design comp in front of the tool without saving the image to disk first.
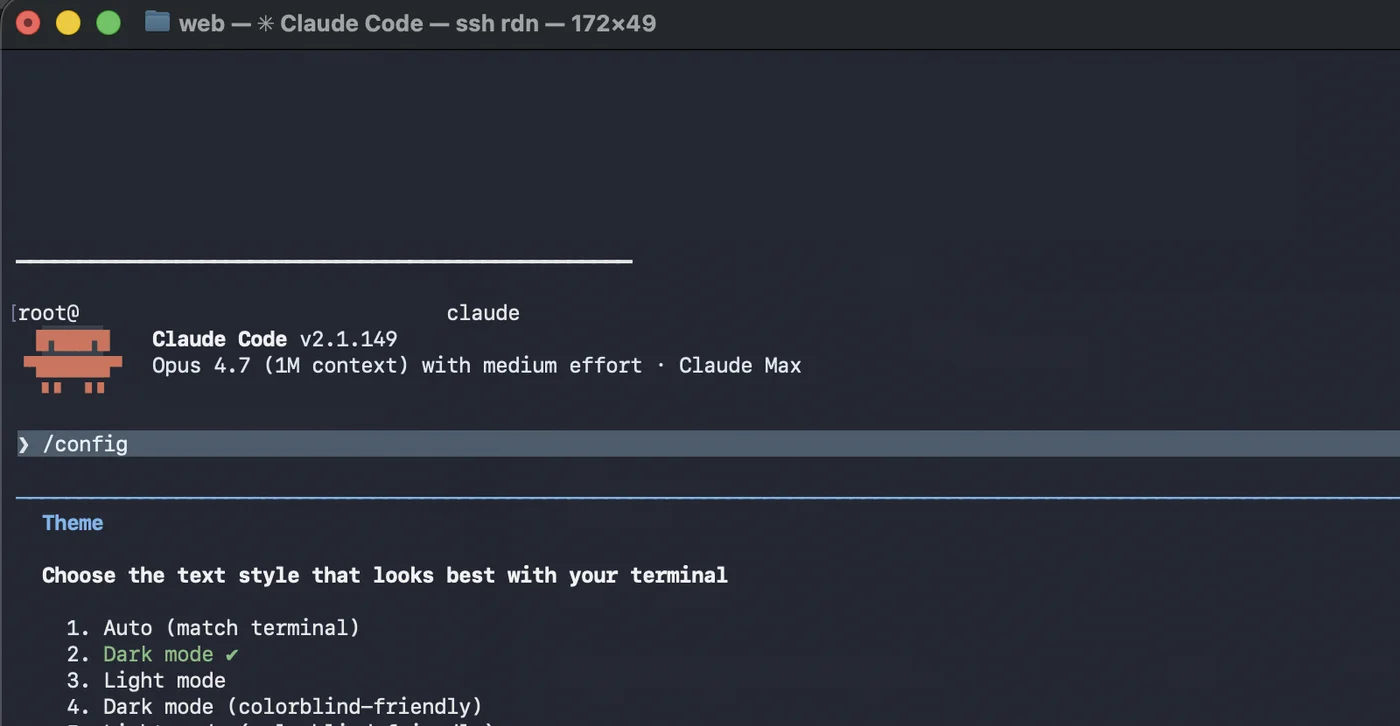
The third is themes, which doesn't change what the tool does but changes how comfortable it is to look at for long sessions, where /theme opens a picker with built-in light and dark presets plus an auto option that detects your terminal's background and follows your OS appearance setting. If you don't like any of the presets, you can drop a JSON file into ~/.claude/themes/ and override individual color tokens (there are tokens for the brand accent, plan mode border, diff backgrounds, status colors, and a few dozen others), and the tool watches the directory and reloads on file change so you can iterate live without restarting. Custom themes are documented in detail at code.claude.com/docs/en/terminal-config if you want the full token reference.
The fourth is a custom status line, which is a shell script you write that runs at the bottom of the interface and can display anything you want: current model, working directory, git branch, context window usage as a progress bar, session cost, the name of the session, whatever's useful to you. The full setup is at code.claude.com/docs/en/statusline and it's the kind of thing you don't need on day one but should be aware of, because the moment you find yourself wanting to know how much of your context window is used or which model you're on, the answer is to set up a status line rather than to check manually.
The tmux gotcha worth knowing about now
If you run Claude Code inside tmux, which a lot of macOS terminal users do for session persistence and pane management, two things break by default that aren't tmux's fault but do need to be fixed in your tmux config: Shift+Enter stops working for newlines, and desktop notifications and the tool's progress bar get swallowed by tmux instead of being forwarded to the outer terminal. The fix is three lines in your ~/.tmux.conf:
set -g allow-passthrough on
set -s extended-keys on
set -as terminal-features 'xterm*:extkeys'
Then tmux source-file ~/.tmux.conf to apply without restarting your tmux server. The first line is the one that fixes notifications, and the other two are what let tmux distinguish Shift+Enter from plain Enter. None of this is exotic, it's just the kind of thing you discover by getting frustrated rather than by reading the docs first, and writing it down once means you don't have to figure it out again on your next machine.
The bigger picture
The reason I'd encourage taking thirty minutes on day one to do the macOS-specific configuration rather than discovering each piece by friction is that the cost of doing it up front is genuinely small, and the cost of doing it piecemeal over the next month is high in a way that doesn't show up in any single moment but adds up across every session. Each individual thing on this list saves maybe five seconds or removes one small annoyance, but you're going to use the tool hundreds of times over the next year, and the configuration moves you make now compound across every one of those sessions in your favor or against you depending on whether you did them.
The other piece of the bigger picture is that the macOS terminal ecosystem is in genuinely good shape for Claude Code right now in a way it wasn't a year or two ago, where the modern terminals like Ghostty and Kitty are designed with this kind of tool in mind, the older ones like iTerm2 have caught up with a few setting toggles, and even Apple Terminal works well once you've enabled Option as Meta. There's no terminal on macOS that's a bad choice for the tool, just different amounts of setup you have to do to get to the same place. Pick the one you'd be happy with for general use, do the thirty minutes of configuration once, and forget about it.